


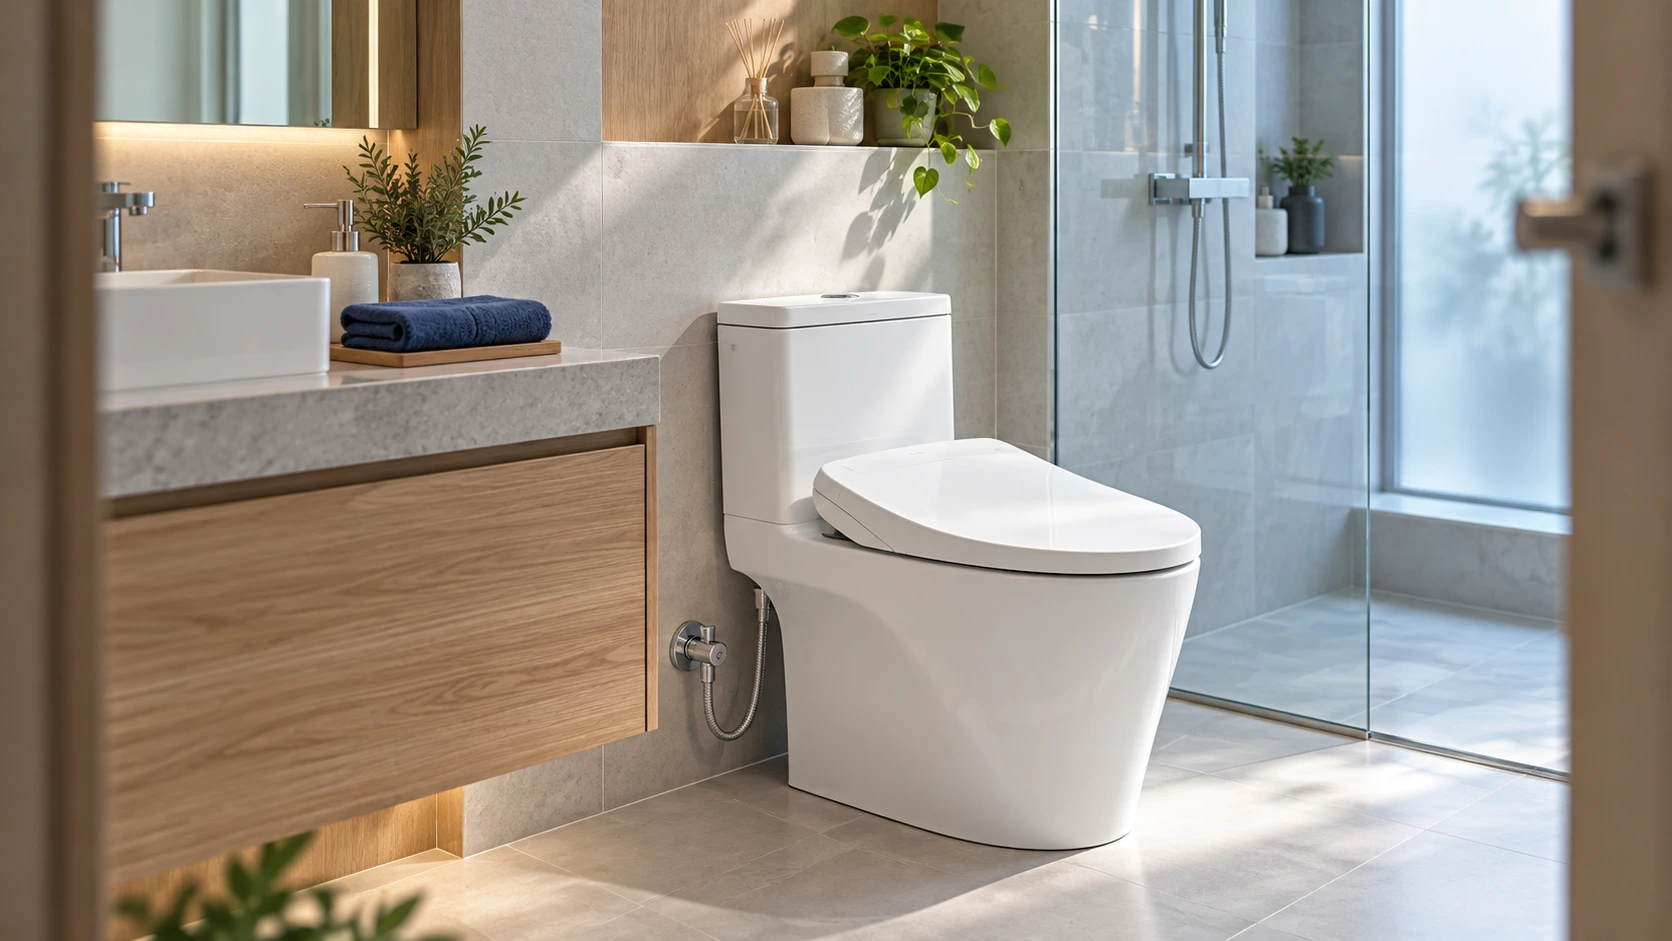
A smart bidet seat has to work with the existing bathroom and the people using it every day. The feature list is only part of the choice. Toilet shape, water and electrical preparation, reachable controls and ongoing care all affect practical use.
This guide helps prepare information for a supplier and installer. It is not a do-it-yourself installation manual and does not specify universal dimensions, water pressures or electrical requirements. Those must come from the selected model’s instructions and a site assessment.
1. Start with the existing toilet and surrounding space
Photograph the toilet from the front and side, including the fixing area and space behind and alongside it. Include the existing make or model if known. Similar-looking toilets do not establish that the same seat will fit.
Ask the supplier which dimensions to measure and follow the specified positions. A description such as “standard size” is insufficient. The assessment should consider fixings, rear clearance, opening movement and the condition of parts that might require attention first.
Check the room with the door open and in actual use. Space that looks adequate in a photograph may be constrained when another person provides assistance or other equipment is present.
2. Have water and electrical preparation assessed
Provide photographs of the water supply, valve and proposed electrical area. Ask the installer to assess them against the model instructions and the site’s requirements. If an electrical point must be added or moved, agree the scope and responsibility with a suitably competent person.
Do not choose an extension arrangement or alter a connection solely from an example image. Installation must account for the actual equipment and wet-area conditions. Where preparation is needed, request the work items and cost before confirming the appointment; do not assume every preparation task is included.
| Information to prepare | What it helps assess | What to confirm |
|---|---|---|
| Toilet photographs and model | Compatibility and available space | The seat model suitable for this site |
| Water point and valve | Connection and maintenance access | Any additional plumbing work |
| Proposed electrical area | Electrical preparation | Who completes work required beforehand |
| The wider usable space | Reach and movement | Accessible control positions for the user |
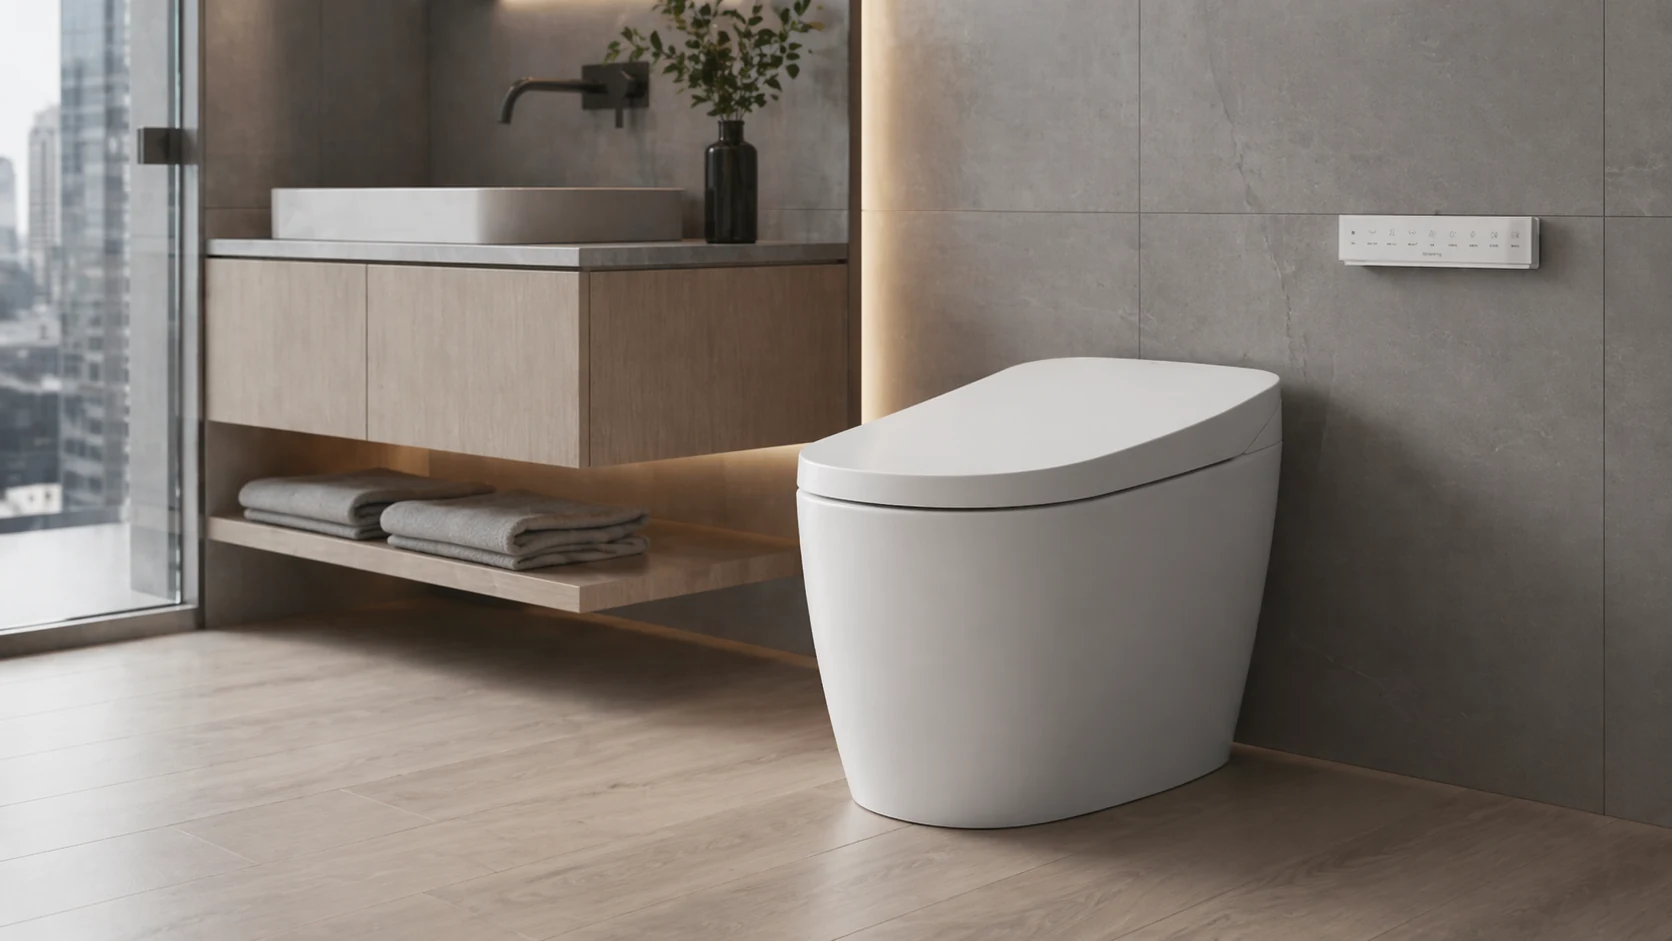
Everyday comfort starts with a fit between the person and the existing bathroom.TIIS Insights
3. Choose around the person using it
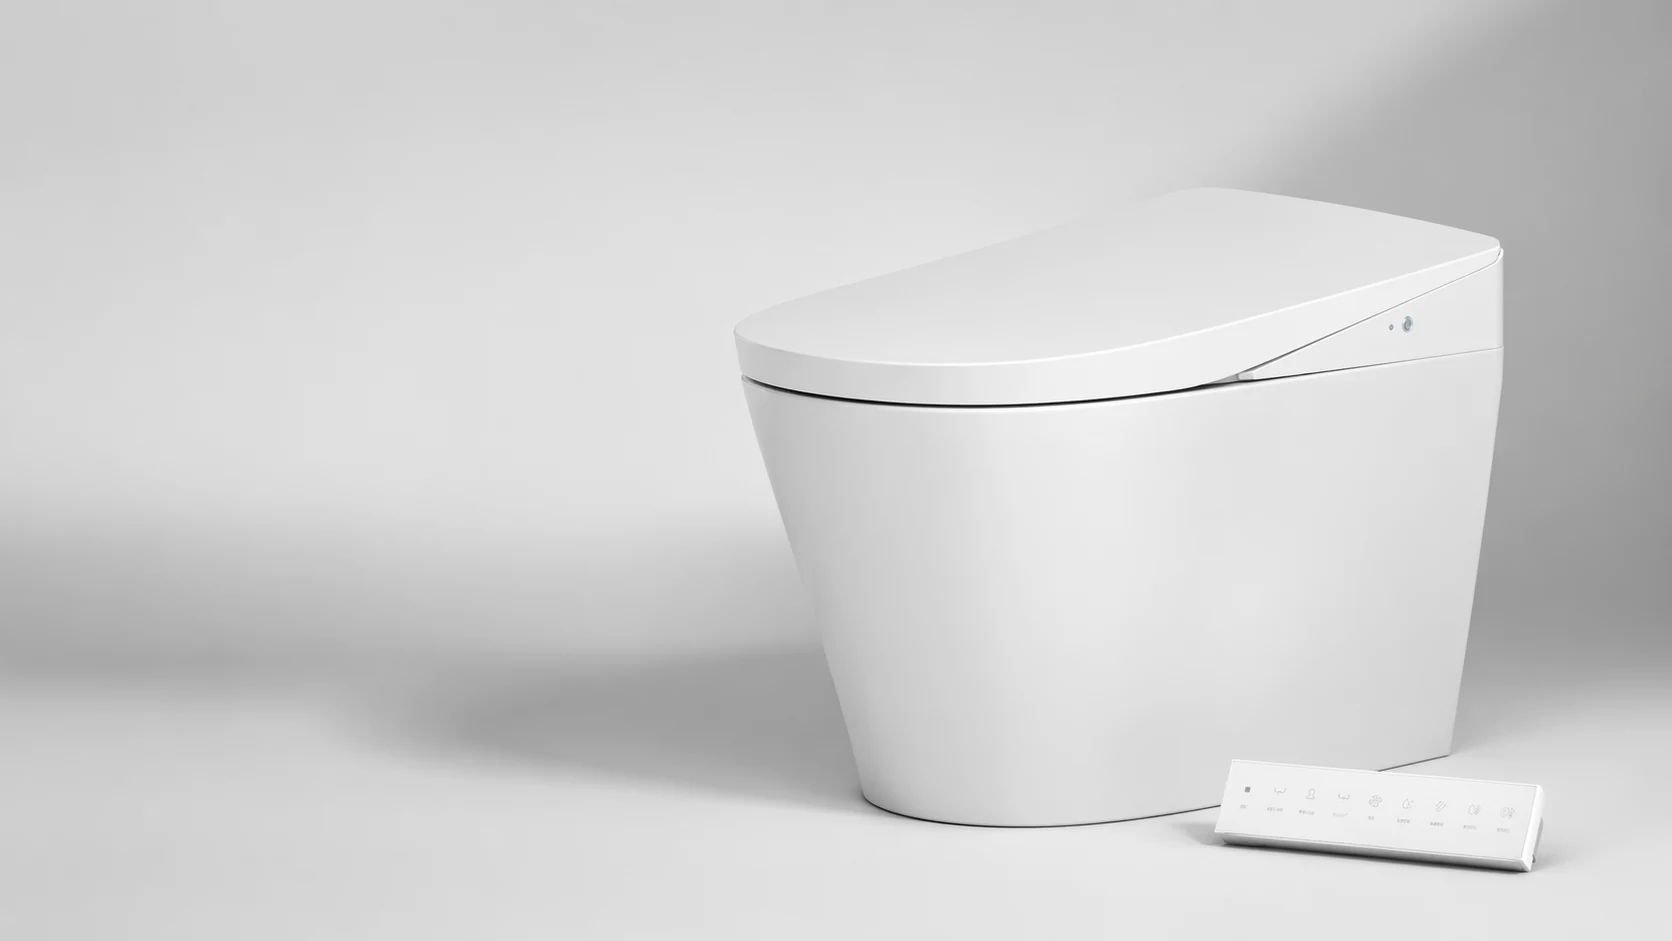
Invite the intended user to read the symbols, operate the controls and locate the stop function. Check whether the basic sequence is understandable without memorising many steps. If a remote is used, consider a reachable storage position that does not obstruct movement.
SUKHA’s SENSE product page describes that model’s features and controls. [1] Verify the specification of the exact model being considered and request a demonstration of the functions that matter. Do not assume all models offer the same functions. Where a person has specific support needs, consider them with the relevant caregiver; the equipment should not be presented as replacing every form of assistance or providing a treatment outcome.
In a hypothetical household seeking more independent use, readable buttons and comfortable reach may matter more than the number of modes. If the main control is difficult to find, address that before adding complexity.
4. Ask about care before purchasing
Request the actual model’s instructions and an explanation of what users can maintain themselves and what requires service. The SENSE page includes cleaning precautions and guidance about disconnecting power before cleaning. [1] Follow the instructions rather than interpreting a water-resistance claim as permission to direct water into every part of the equipment.
Ask about consumable parts, the conditions for inspection or replacement and the contact route for a fault. Keep the model, serial number, purchase record and installation details somewhere accessible so the service team can identify the case.

5. Confirm scope, cost and handover
The company specifies a one-year warranty for SUKHA. Confirm coverage and exclusions in the purchased product’s documentation and quotation. Read the purchase and service policy and ask about travel, site preparation and additional work before agreeing the scope.
At handover, ask the installer to demonstrate normal use, stopping and care under the instructions. Let the intended user try the controls with guidance. Check the completed work and documents, and record any outstanding items with an owner and follow-up date.
Explore SUKHA with TIIS, the SENSE product information, or the official @getsukha LINE contact to provide site information. Those managing several bathrooms can start with SUKHA’s business information to discuss an appropriate installation and care scope.
Before asking for an assessment
If readiness is uncertain, begin by sending clear photographs and actual site information. A choice grounded in the bathroom and its user gives a more complete basis for purchase than a feature comparison alone.
References and further reading
Use these primary sources to check the supporting information. Examples, tables and trial plans in this article are editorial proposals.
- SUKHASUKHA SENSE — ข้อมูลผลิตภัณฑ์และการดูแล ↗
Model-specific SENSE features and care information from the supplier.
Explore SUKHA and request an installation assessment
Start with the service information, then discuss a scope suited to your setting, users and goals.
Explore the related service